A Step-by-Step Guide to Creating Your Mobile App MVP

Have an idea for a mobile app? Ready to make it happen? Building a minimum viable product (MVP) is a smart strategy. Doing so allows you to test your concept, gather valuable user feedback, and refine your product before investing significant time and resources.
What Is an MVP?
An MVP is a version of your app with enough features to attract early adopter customers or internal (employee) users and validate a product idea early in the product development cycle. Building an MVP can help you get feedback as quickly as possible to iterate and improve the product.
Why Build an MVP?
We know it can be overwhelming to build a robust mobile app with lots of features, visuals, and functionality. However, focusing on “version one” of your app with the most important elements needed to get your app in the hands of customers is critical. Developing an MVP will help you focus on the app creation process rather than getting lost in adding more features, screens, images, etc.
Before You Build Your MVP
Before diving into the development of your MVP, you should have a clear understanding of your MVP's purpose and goals. Ask yourself:
- What problem does your app solve?
- Who is your target audience?
- What are the key features that must be included?
- What do you want to achieve with this MVP?
Having a well-defined scope of work will help you stay focused and prioritize the most critical features for your initial release. Once you’ve scoped your app, it’s time to start building your MVP.
Building Your MVP
Following these simple steps can help you get started quickly, even if you’ve never made a mobile app before. So, whether you’re going the traditional route—or using a no code platform that requires no technical knowledge—the steps are the same.
1. Wireframe
Build the skeleton of your app, meaning focus on the visual representation that outlines the layout and structure of the user interface (UI). The UI is the look and feel of the app, as well as the interaction between the user and the app. It includes things like buttons, fonts, colors, and animations. The UI helps to create a smooth and intuitive experience for the user.
The wireframe will serve as a blueprint, showcasing the placement of key elements and interactions without focusing on design details.
2. Design Your App
Unleash your creativity! Using design tools such as Figma or Canva or the no code platform of your choice, you can begin mapping out the visual elements of your app. In this step, you’ll want to pay attention to color schemes, typography, and the user experience (UX). The UX is how the user feels when using the app. Prioritize an intuitive user experience with a clean and engaging interface that enhances usability. Make sure the design aligns with your brand and your target audience's preferences.
🚀Thunkable Tip: While building your app, don’t forget to stick to the core principles of design: establish a hierarchy, keep visual cohesion, apply effective use of white space, and establish a brand tone.
3. Build the App Logic
No code platforms typically use visual workflows or logic builders to define the app's behavior and functionality. These are often based on a drag and drop interface. Create interactions between different screens and elements to give your app life.
🚀Thunkable Tip: Remember that less is more. The goal is the least amount of clicks to get where the customer needs. Simplify, clarify, and justify every aspect of the app by asking yourself, “Do we need this?”
4. Set Up Your Data
Determine the data your app will need to store and interact with. No code platforms often provide database features, which allow you to organize and store data efficiently.
5. Test and Iterate
Thoroughly test your app on various devices and operating systems to ensure it functions as intended. Focus on delivering a smooth and bug-free experience. Users are less likely to stick with an app that crashes frequently or runs slowly. Conduct beta testing with a small group of users to gather feedback and make necessary improvements before the official launch.
Consider launching your app on multiple platforms like iOS and Android to accommodate all of your users.
Conclusion
Building your own mobile app is much easier than you think. If you follow the path to MVP that we’ve laid out here, you can get a basic version of your app idea stood up quickly, gather user feedback, and use that feedback to guide the rest of your development process. When it comes to mobile app development, starting small can lead to big success, so why not get started today on Thunkable?
To learn more about developing your app download our Ultimate Guide to No Code Mobile App Development.
.jpeg)
View Pricing
If you’re an administrator or requesting multiple licenses for your school or district, our team will follow up with you directly to learn more and help set up the right Education plan. We’ll work with you to make sure Thunkable is the best fit for your districts/classrooms.
We also offer special discounts for individual students and educators. Apply below, and you’ll receive a promo code via email to claim your discounted Thunkable Education plan.
Related Resources


From Idea to App Store: Meet Thunkable AI, the Fastest Way to Build and Launch Mobile Apps
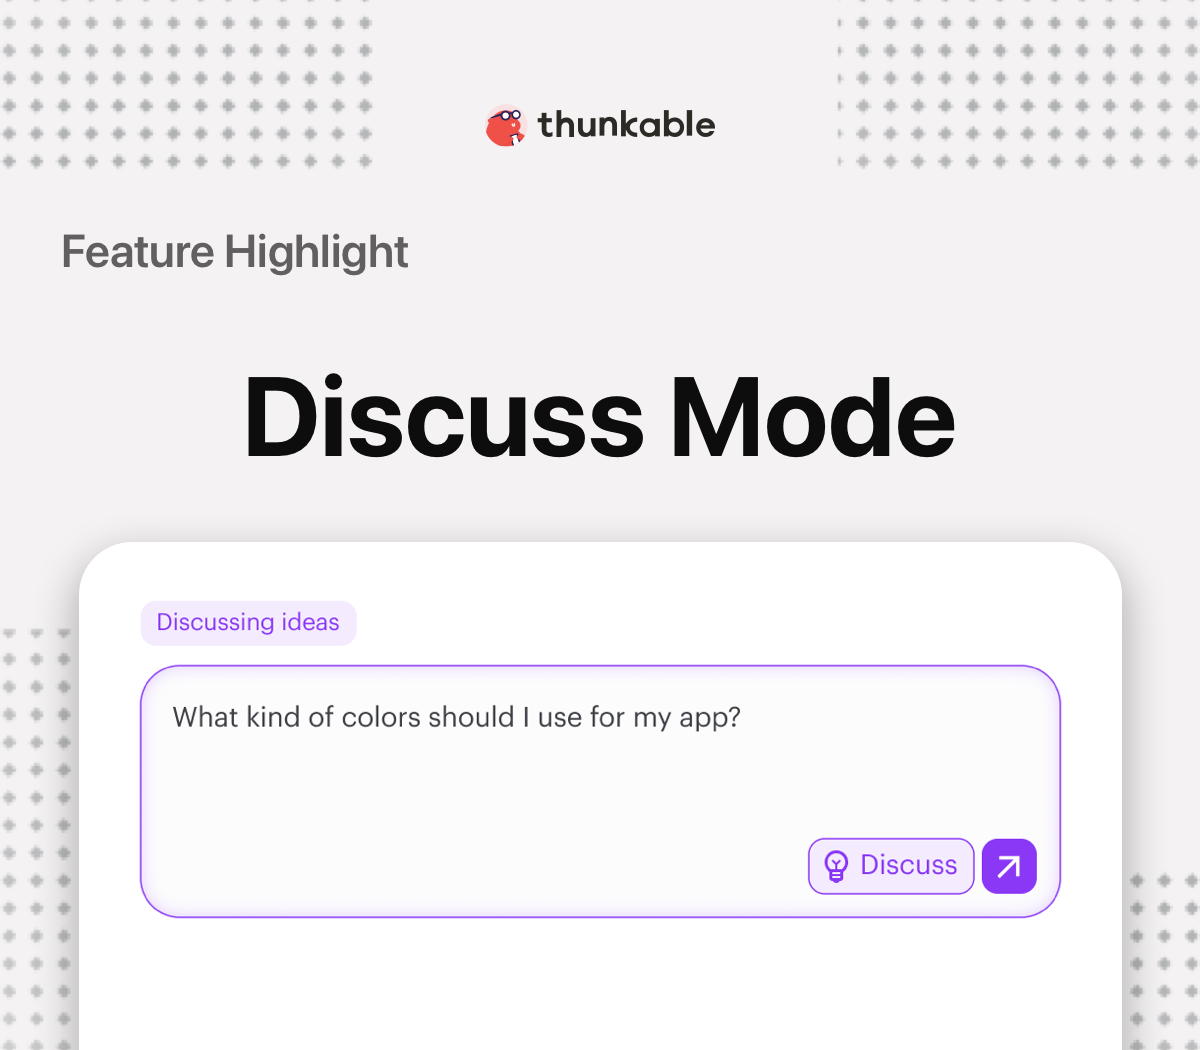

Feature Highlight - Discuss Mode
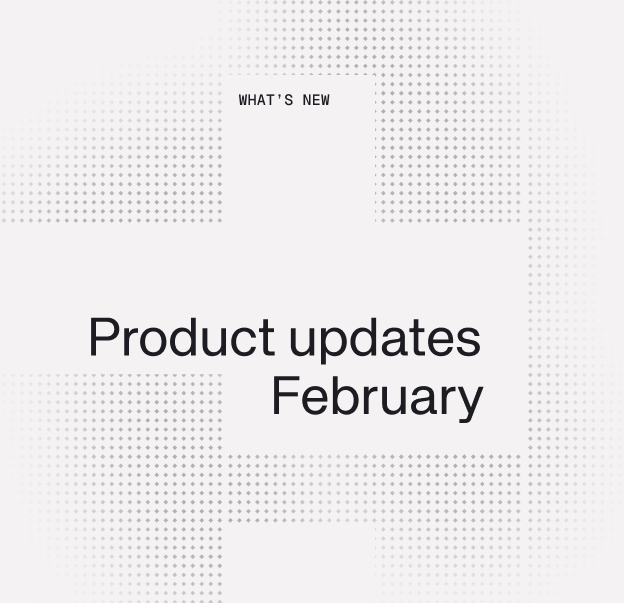
February 2026 Product Updates
Start
Creating
Creating


Your idea can be live today.