5 Powerful Components to Use with Your No Code App

Whether you're a seasoned pro or new to Thunkable, we will guide you through the top five features we've discovered to be the most utilized and beneficial for our creators. Whether it's for your startup business, an expansion of your product, or something you're making for fun, these five easy-to-integrate components will assist you in your no code mobile app development efforts.
Before we get started, you will want to live test your app on a device as you work with the drag and drop blocks we share. Download the Thunkable Live app for either Apple or Android devices.
Speech: Text to Speech or Translation
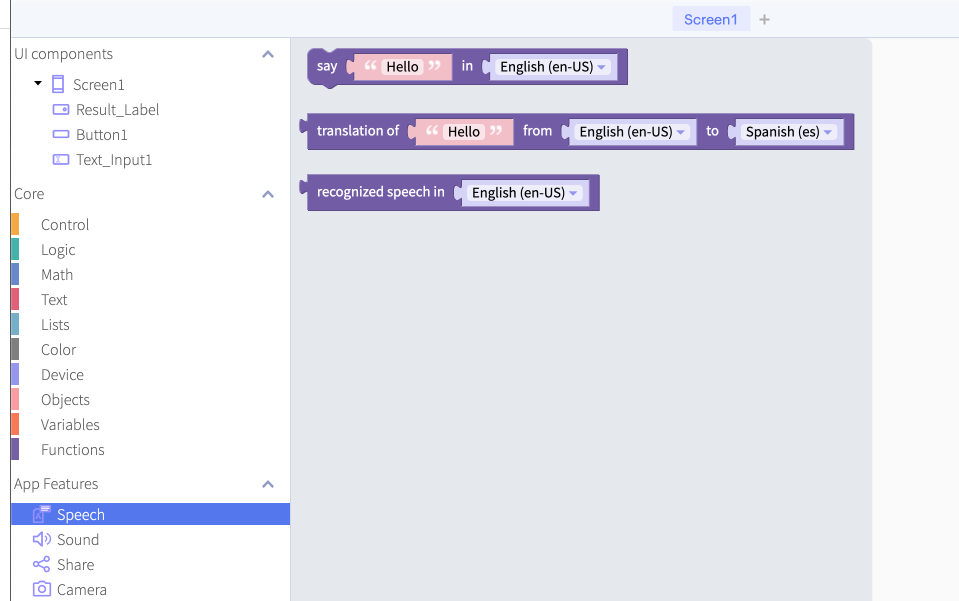
Component:
- Speech
Abilities:
- Text to speech
- Translation
Our Speech features enable creators to translate text, recognize speech, and speak the language you have selected. We support many languages with our translation block to meet your needs.
The video below creates a quick and straightforward translator app that converts English to Spanish. Upon translation, the app will also say the translation aloud to assist with pronunciation if you would like to build an app like Duolingo.
Remix this translator app example to test the components and get started, understand better how the blocks work, and add in your variations. Then, change the language, redesign the look, and make it your own!
Camera: Barcode Scanner and More!
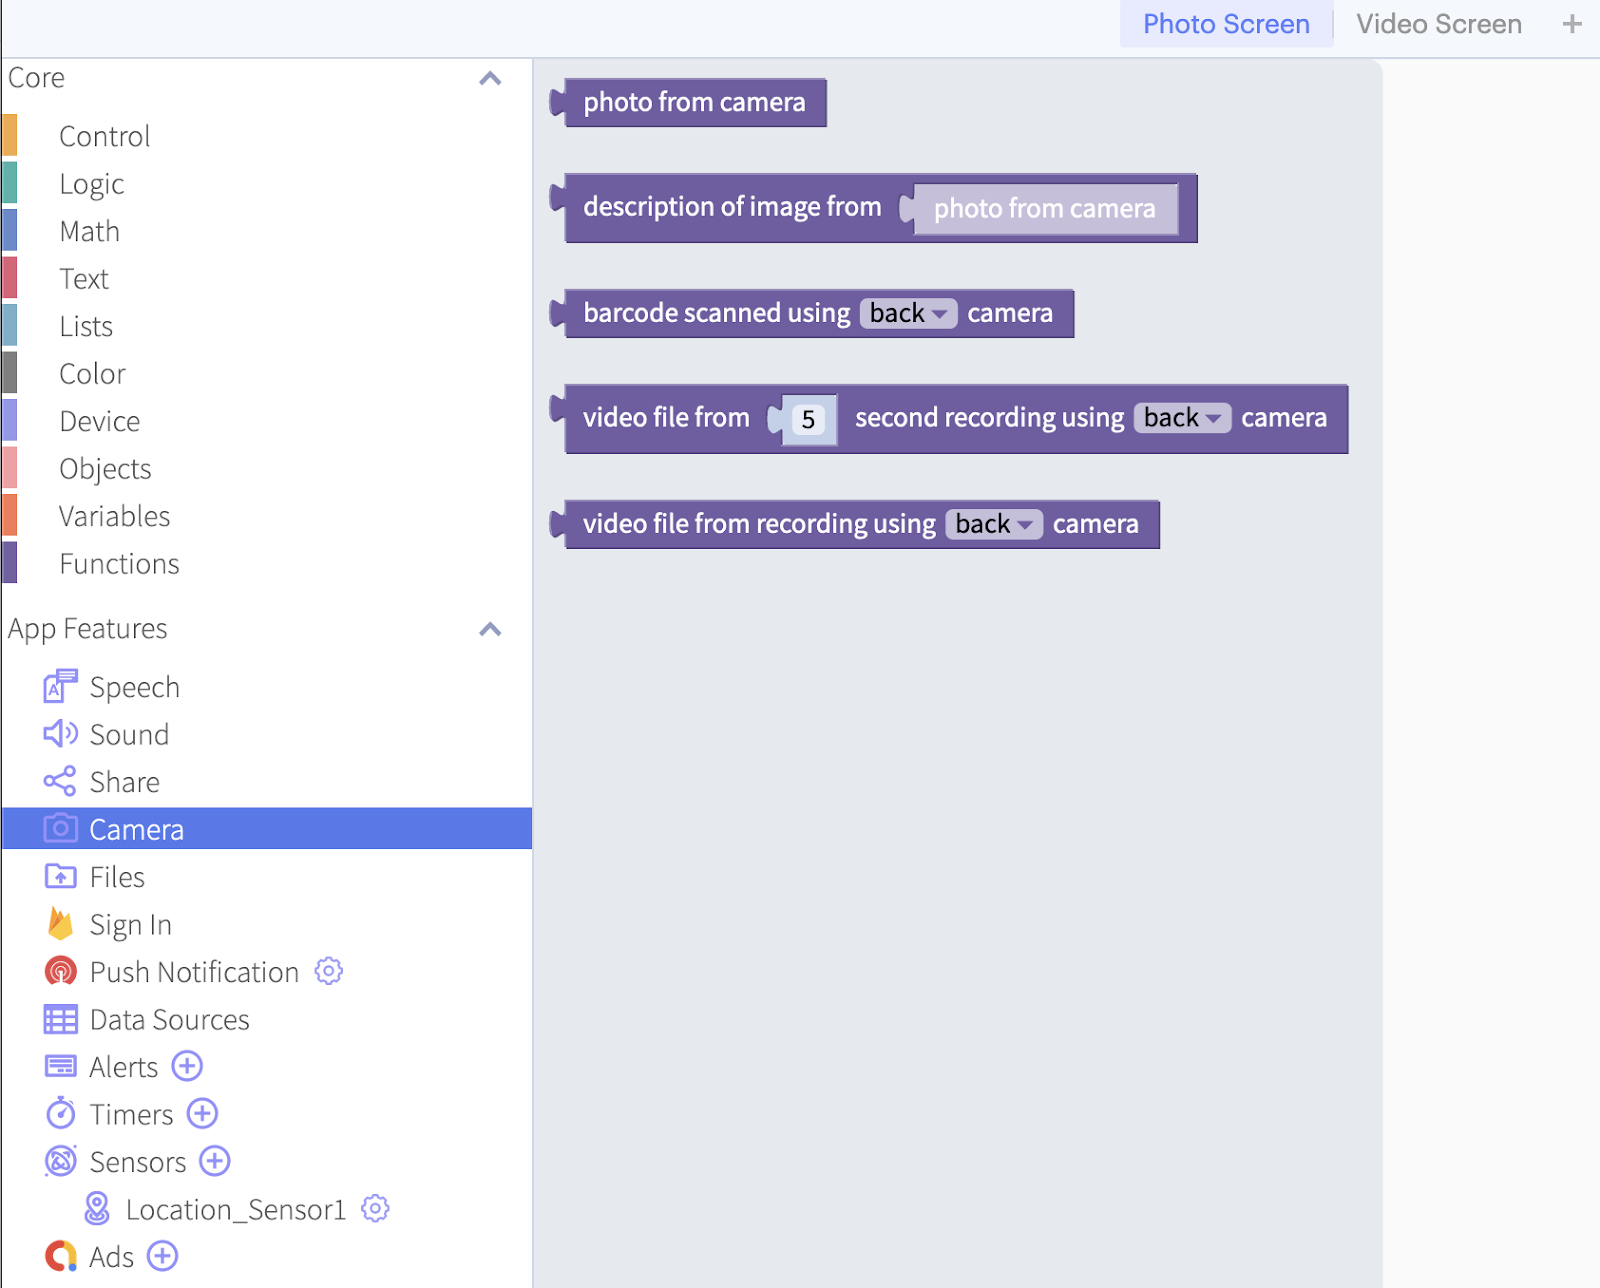
Component:
- Camera
Abilities:
- Retrieve a photo from the device’s camera or photo library
- Generate a description of the image
- Scan a barcode
- Upload a file and return the URL
- Retrieve a video file recording from the front or back camera
Our camera feature has a lot of great capabilities that allow you to tap into the device’s photo library and camera – for both images and video. This feature can be taken a step further by utilizing this component’s barcode scan feature.
But what can you do with this? QR codes are making a big comeback, and you can set up your no code mobile app with a QR and barcode scanner. With this feature, you can enable your business with a quick and straightforward inventory scanner. One use case features a creator from the Thunkable community who wanted to optimize his business operations by implementing an app to scan his inventory rather than manually inputting data. After following a few simple steps, he was able to do just that. He found the barcode component to be a necessity for his company and created several other apps with this feature as well.
To see this block in action, check out our video that sets up each camera component's abilities.
If you would like a more in-depth guide on the barcode feature, check out our documentation in Thunkable Academy.
Data Viewers: Accessible Data
Components:
- Data Viewer List
- Data Viewer Grid
Abilities:
- Add, view, and click on items in a list
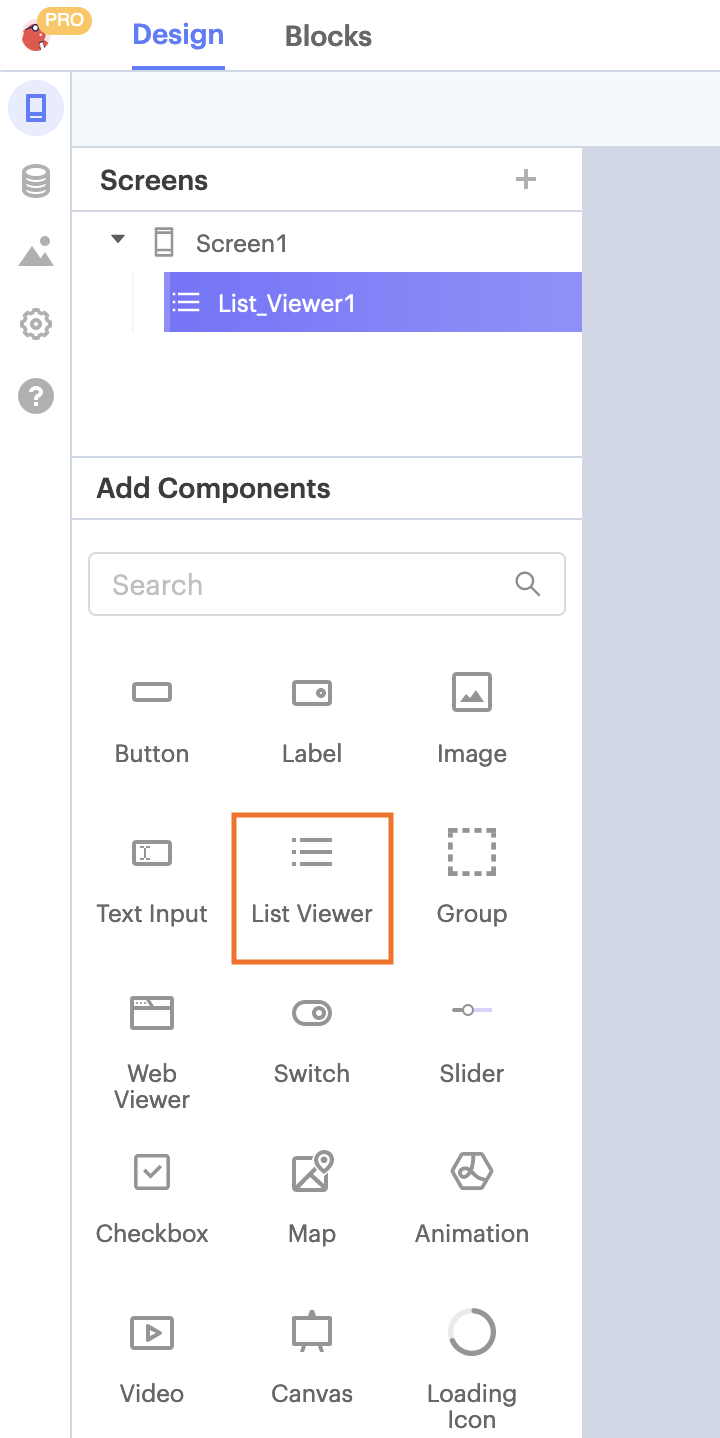
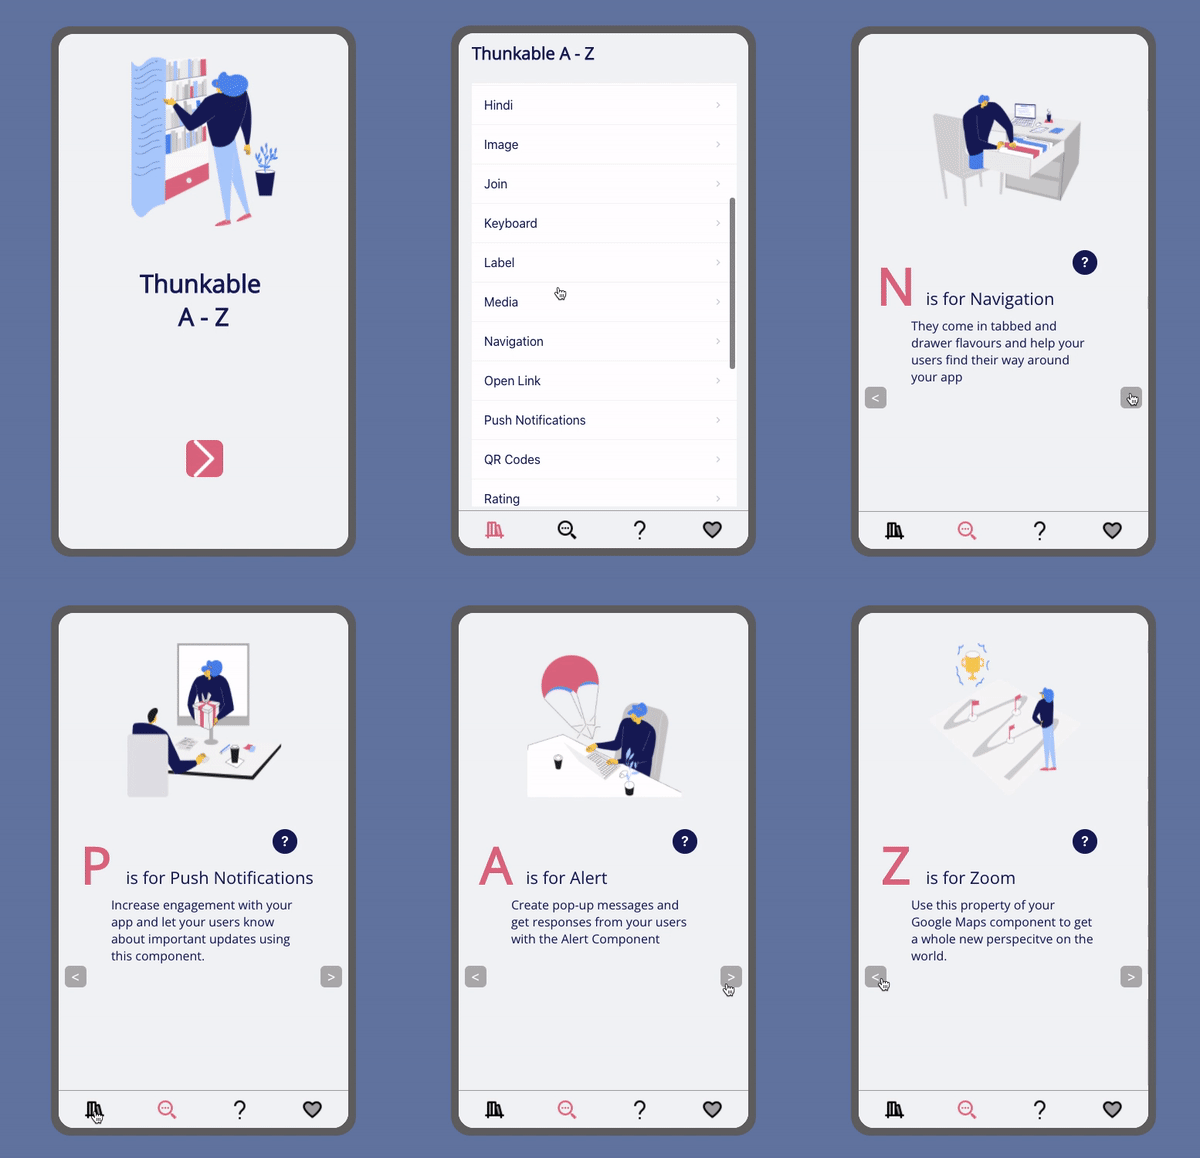
To tap into Data Viewers, you need to add the List Viewer component to your app, which can be found in the Design section of the Thunkable Platform. Once you’ve done so, you can utilize this function to create a quiz app, dictionary app, or onboard customers when they initially open your no code mobile app. The onboarding process can help customers get familiar with your app before using it.
To see the mechanics in action, we have created a demo Dynamic Dictionary and Quiz app that you can use to test the List Viewer component and remix it for your needs. Our community post also guides you through the steps taken to build the app and efficiently utilize the blocks to create one screen for 50 questions instead of one screen for each question.
To learn more about this component and how it interacts with data sources (our next section), take a look here.
Data Sources: Tap into Your Data
Component:
- Data Sources
Abilities:
- Connect to data stored in Airtable, Google Sheets, or local tables
With Thunkable’s Data Sources function, you can store your data anywhere. Data Sources give you the ability to connect to AirTable, Google Sheets, or make your table in the Thunkable platform. In addition, your Data Viewer and Grid can tap into an existing data source. Using this function, you can pull data into your mobile app.
In the video below, we walk you through how to connect to a data source via the Data Viewer Grid function and use this component within your app.
To better understand what data sources you can use and how to set them up in your mobile app, review this section of our Thunkable Docs.
Bluetooth Connection
Component:
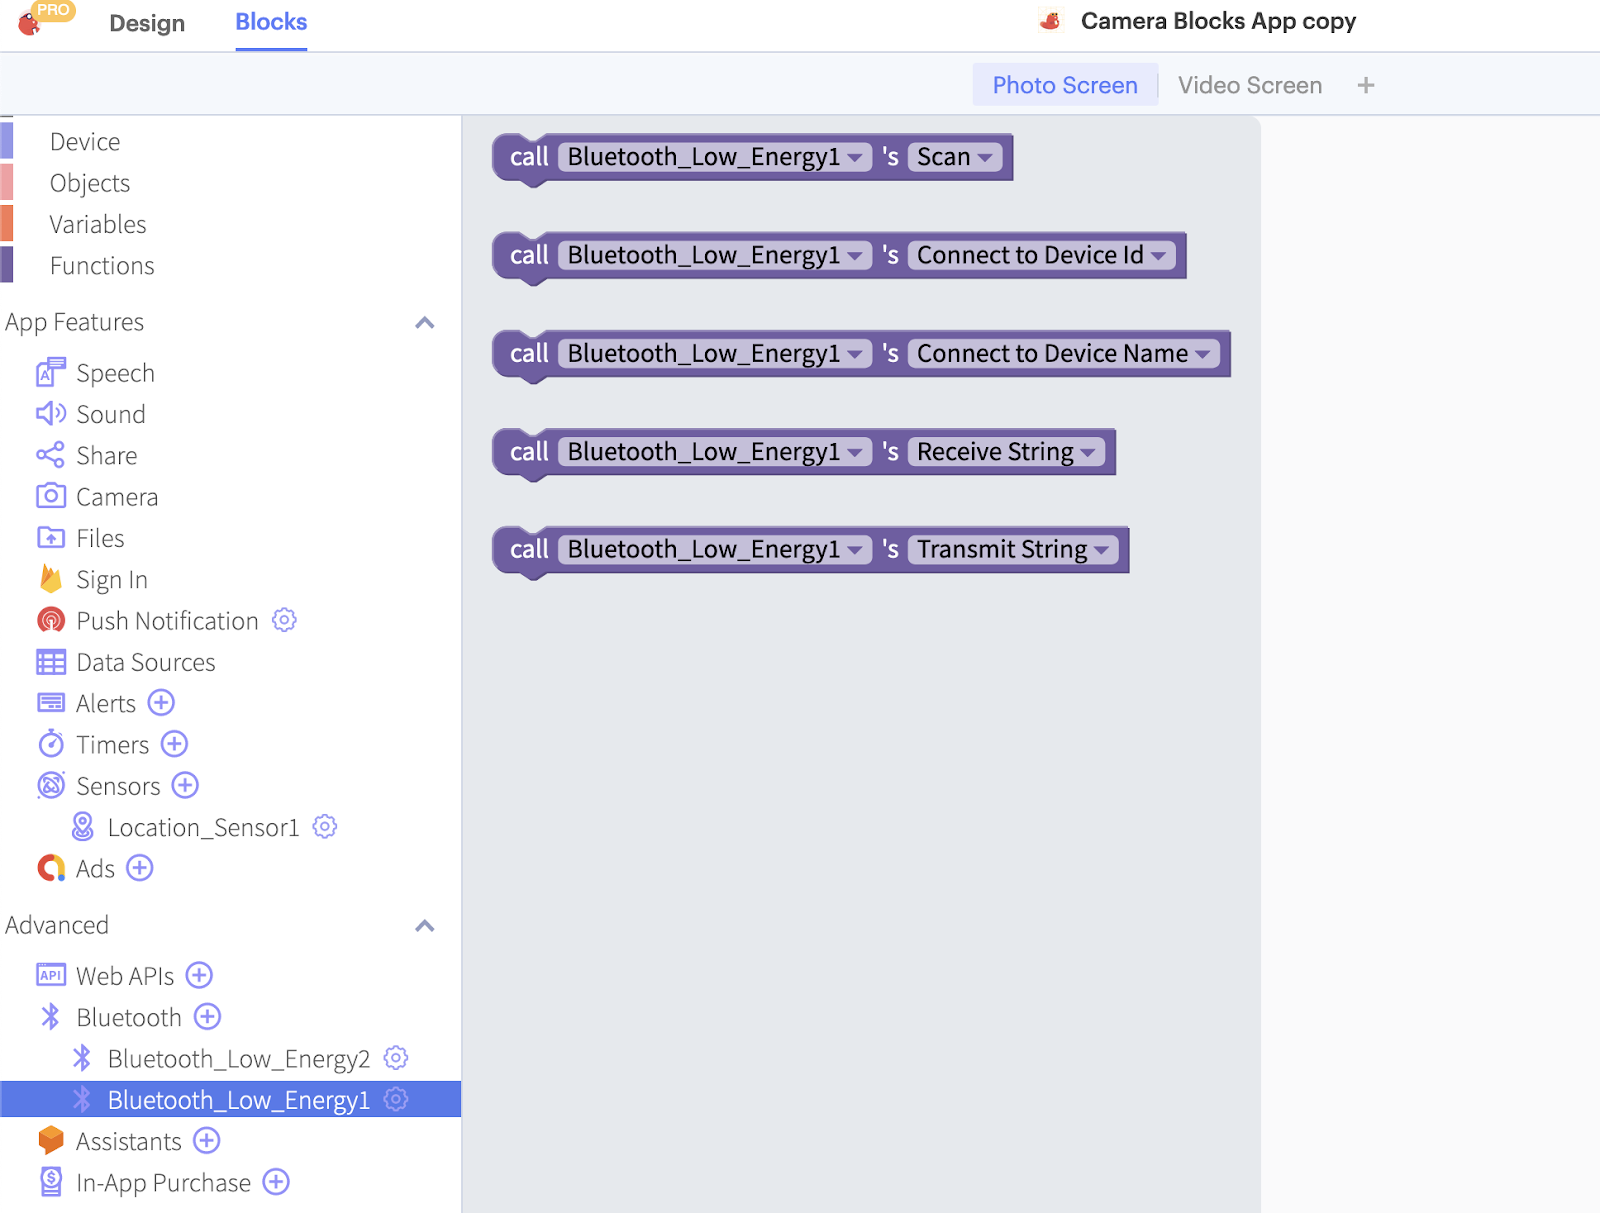
- Bluetooth Low Energy
Abilities:
- Scanning
- Connect to a device by name or device ID
- Receive and transmit data
Before diving into what you can do with this advanced component, let’s define what a Bluetooth low energy (BLE) device is. A BLE is a wireless communication to connect to a device near you and is used in tech gadgets like cell phones and smart home devices. Use cases include individuals or businesses that work with smart devices and mechanical or digital machines. The BLE component can be used to set up these smart devices, give them instructions, or access the data they collect. You can either set up sensors or use the component to remote control another device.
Watch this video to see this component in action with an LED screen and how text can be transmitted between devices using Bluetooth.
To read more on integrating these functions into your app, check out our guide here.
Getting Started
Though there are countless others, these are five powerful components that can be used with your app on the Thunkable platform. With these features, your no code app creation efforts can fit nearly any need.
Check out our guides and videos to learn more about using each component and get started building your own app on the best no code app builder for free today!
View Pricing
If you’re an administrator or requesting multiple licenses for your school or district, our team will follow up with you directly to learn more and help set up the right Education plan. We’ll work with you to make sure Thunkable is the best fit for your districts/classrooms.
We also offer special discounts for individual students and educators. Apply below, and you’ll receive a promo code via email to claim your discounted Thunkable Education plan.
Related Resources
What Will You Create?
Ready to take your first steps towards developing that amazing idea? Get started on your app for free.



.jpg)
