Creating Radio Button Logic in Thunkable
.png)
Over in the Thunkable Community we had a question about illuminating a button when it’s pressed within a creator's no code app, and we thought this was an excellent opportunity to share some information here as well!
One of the requirements here was that only a single button could be lit up at at time in this no code app. In the example below, clicking on 1 changes the background color to blue, and then clicking on 4 switches button 1 back to grey, making button 4 blue.

It sounds simple enough — and in some respects, it really is. Turn one button blue and turn all the others grey. I tried this in my recent YouTube Video, where I started building out the app logic at 1:06 and was comfortably finished blocking out my project within 2 minutes. Try it for yourself; I’m sure you could beat my record!
Haste Makes Waste
OK, so what’s wrong with that first, “intuitive” approach? Well, it doesn’t scale particularly well, for starters. For the original 4 button layout, I needed 9 blocks to get the behavior we were looking for, and that was just for a single button. Scaling up from a 4 button layout to a 6 button layout would require going from 36 blocks to 78 blocks. It gets progressively worse for each button you add.
Another reason not to go for the simple solution is that it’s harder to maintain. Let’s say we want to change the color to green instead of blue. Our original 4 button layout requires us to make 4 changes in our blocks, but if we have 8 or 10 buttons we’d need 8 or 10 changes in our blocks. (You get the idea!)
So, can we do any better?
Enter the “Any Component” Blocks
The Any Component Blocks have been in Thunkable for a while now. In the latest release, you can find them in Advanced > Any Component, which I’ve highlighted in the screenshot below.

There might only be 7 blocks to choose from, but the possibilities are almost endless.
For our radio buttons, we first want to switch “off” every button on the screen, and then we want to switch “on” the button that has just been clicked.
The solution I arrived at looks like this:

We loop through a list of all the buttons on Screen1. For every button in that list, we set the background to grey. The really nice thing about this is that no matter how many buttons we have on that screen, we only need these 5 blocks to “reset” them back to their default color. It works just as well with 104 buttons as it does with 4 buttons.
The last thing we do is change the background color of our clicked button to blue. This is done by using that light green component block. Going back to the idea of making an update to this app -- if we want to change the clicked buttons from blue to green, we only need to change this one block. Not one block per button; just one block.
Conclusion
So there you have it. The full build, along with a link to my project page is over on YouTube. Or, you can watch the video itself below!
As always, the Creator Success team is available to help you make your no code mobile app development dreams a possibility. Let us know what you think of this quick blog tutorial, and if you have any other questions like this! (Don’t forget to post them in the Thunkable Community.)

View Pricing
If you’re an administrator or requesting multiple licenses for your school or district, our team will follow up with you directly to learn more and help set up the right Education plan. We’ll work with you to make sure Thunkable is the best fit for your districts/classrooms.
We also offer special discounts for individual students and educators. Apply below, and you’ll receive a promo code via email to claim your discounted Thunkable Education plan.
Related Resources


From Idea to App Store: Meet Thunkable AI, the Fastest Way to Build and Launch Mobile Apps
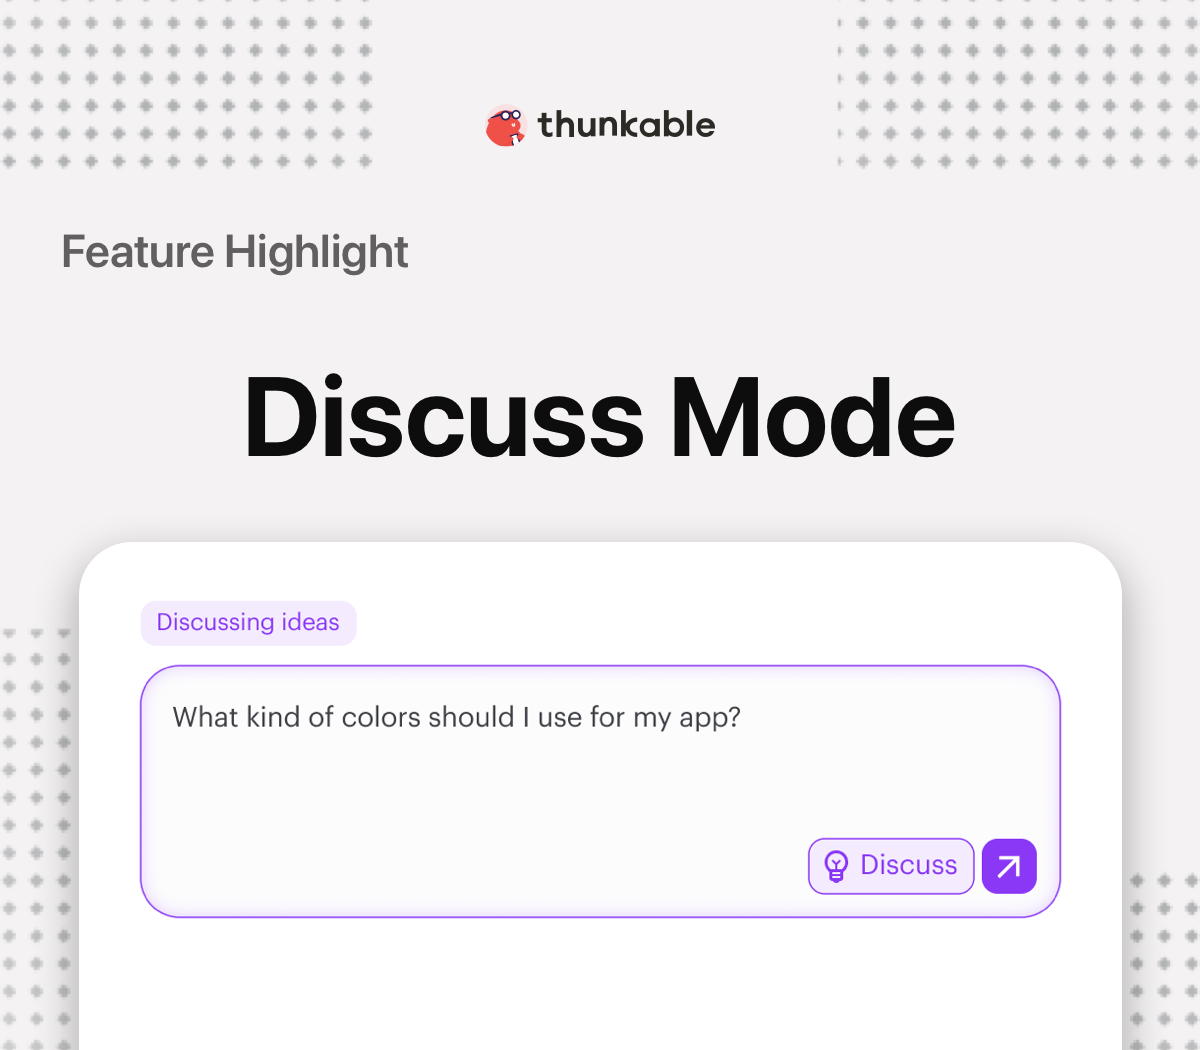

Feature Highlight - Discuss Mode
February 2026 Product Updates
Start
Creating
Creating


Your idea can be live today.